Showing posts with label The roof. Show all posts

Saturday 14 May 2022

A Dollshouse for the Dollshouse and a Cupola

Hello again it's been a while since my last post but I have been busy adding some more details to the house, mainly the roof.
 The chimneys were made from wood and the chimney pots were made from Fimo. I have also added a Cupola which I made from extra windows that I had leftover.  Georgian buildings often had Cupolas for extra ventilation but some were purely decorative. I decided to make mine decorative.


First up, the chimneys


Next the Cupola

The base is made from scrap pieces of wood and an old photo frame (the green bit)


The roof of the Cupola is made with mount board and painted with Acrylics. The weather vane is metal and was bought from Minimum World


**************

Next is my very favourite piece for the house. A doll house for the dollshouse. I made it from a kit in 1:144th scale very fiddly indeed but so worth it when you see how small the finished house is.

Let's begin with the kit


The kit comes with very good instructions and is unpainted so you can decorate it to your own taste and is best done before you assemble it


The main carcass is built and now the removable front can be assembled. 


Adding the windows, door, dormer window, and the glazing


The tiny dormer window and one of the glazed pieces are so tiny!


The chimneys are only 1 centimeter 


The front and the roof are done and you can also see the small table that the house sits on. The roof just needs slates and the outside walls of the house need bricks. All done of course with decorative papers


You can get an idea of the scale when you see it beside a small bottle of water


The outside is now complete


I still need to do the flooring probably wooden floors or maybe tiled depending on the type of rooms


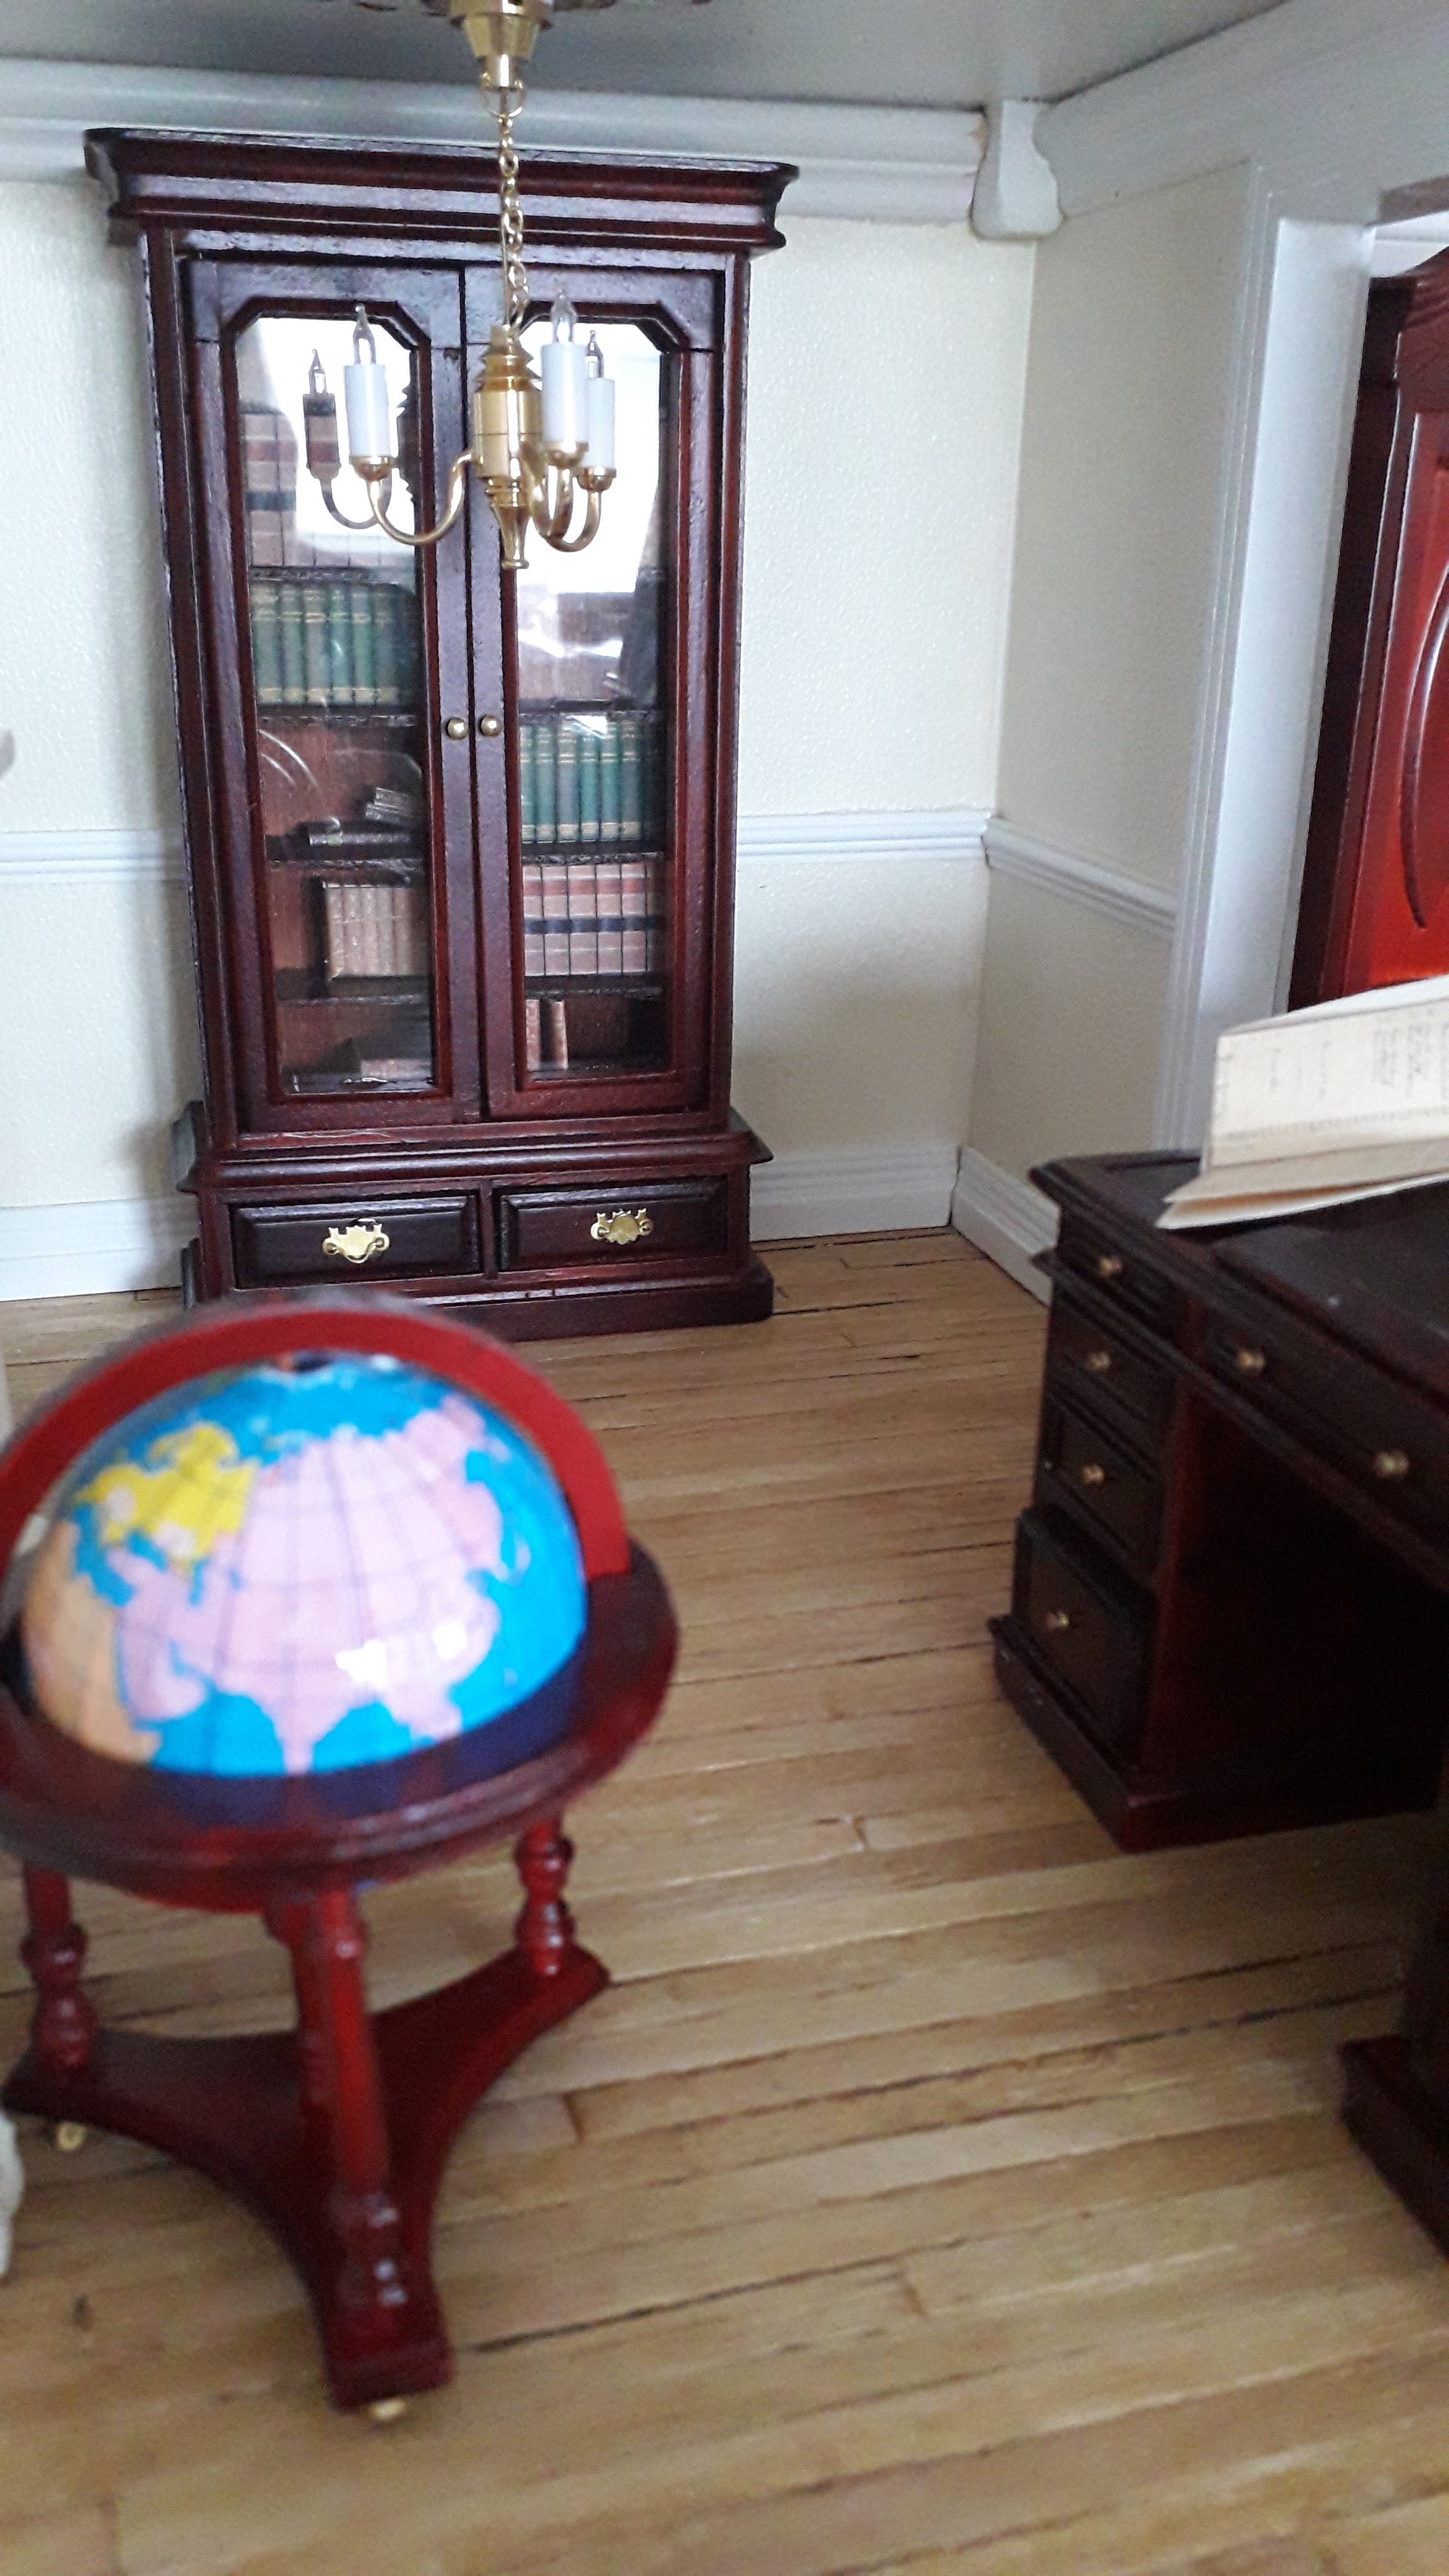
The house inside the house......


The furniture for this micro house is minute and also comes in kit form but I might have a go at making some of it myself


In the 17th and 18th centuries, Doll Houses were for adults and were a symbol of wealth, they were also used to illustrate how domestic life should be played out. Dating from the 1600's the "baby house" provided a visual aid for young and often illiterate girls learning household management. While the lady of the house embroidered elaborate dresses for her peg doll self, the serving girl would learn to know her place.

I hope you enjoyed looking at my little mini house, until next time stay safe, and thank you for dropping by.

Vee xx


Sunday 8 November 2020

The Study, the roof and the front of the house

I've been busy !!!....😁 So let's see what I've been up to for the last 2 months.  I think we will begin with the Study and how I made the little books. Then we will look at the furniture in the room.

The book at the bottom of the photo is Romeo and Juliet with printed pages on the left are the inside pages Its about 2.5 cm


************

on the left is a book block, the middle photo is a botanical insert of a book and on the right a collection of books to be made up


I still have loads to be made but I have enough at the moment to go into the book cabinet below


Next is my favourite buy for the house so far....my replica of a  Charles Dickens desk and I also bought the Charles Dickens chair too, well why not....lol you can't have one without the other, they were expensive but totally worth it as they fit perfectly within the period of the house.  It was quite a red mahogany when I bought it and I wanted it to be dark like the book cabinet so I darkened it with alcohol inks it's now much better looking, the chair got the same treatment. I love this little desk it has so many opening drawers and they all go the full depth of the desk. So more books needed I think to fill all these little drawers

before


after 😁


the chair, desk, and quill pens I made from real feathers and ink wells. A few accounting ledgers and a notebook and pencil


More books and horse bookends on the mantlepiece and 2 packs of playing cards....so cute !
The fireplace is still to be finished.


I also wanted a world globe for the Study and this one looks just right and it spins and the wheels roll too 😲


****************

Now onto the roof.  Such a long job but I just did a bit every day until it was finished so here's how it was done.

Mountboard cut into 1-inch squares and placed individually in rows starting at the bottom and working to the top. A few mistakes cutting some to fit the dormers but I got there in the end.


                             the whole roof has more than 700 tiles I lost count after that and thought what the hell!!   😂                                    


I distressed the tiles with Acrylic paint and added a trim top and bottom the green tape holding it firm while it dries


I used some Duck tape to make the leading round the Dormers it looks really good


a few pics with the fronts on and off. At this stage they are only placed no hinges on yet. These doors only cover from the ground level up .....the basement front and gardens sit in front below the main door entrance these are not fitted yet as I've still to complete them.


the front door


*************
A few little extra things I did this month.

I bought these little porcelain vases and filled them with yellow roses for the Morning room and the other vase is in the bathroom


a dressing table set, really tiny


Another tool I've wanted for a long time is a mini electric Potters wheel. I've only had a we play with it so far and made these 2 little pots but the clay I used was old and too dry so I have bought some new stuff and will have another go this week ...watch out for more updates on this.


That's all the updates so far I'll try and get another done before the end of November and hopefully, the basement front and garden will be started by then, and if I get a chance a few wee pots and some chimneys.

Hope everyone is well, keep safe till next time

Vera XX