Hello again, I hope everyone is well and coping with this lockdown. This winter has been so cold and wet that I have hardly ventured outside for ages, only when Hubby takes me a wee run in the car. I'm not a fan of Winter at all ⛄❅❄☃❆🌨 and I am really looking forward to warmer and brighter days when I can enjoy my garden again and go out and about.
I've been concentrating on the 2 gardens at the front of the house for the past few months and the roof as well but I still have quite a lot to do to that. As you can see above and below the gardens are not quite finished but I will show how I got to this stage and the materials I used.
Image before the stairs were tiled and the fences and gate were done.
stair risers are now tiled and the left side gate and fence in a temporary position the right side fencing is still to be mounted onto the posts and another piece of the sidewall to be added on both gardens. The stairs and garden walls still need coping stones but that will be done when I add the rest of the walls.
Ok so let's begin with the fountain. I used Fimo for this as I had to make it in sections then bake it. I'm quite pleased with the way it turned out it will eventually have artificial water too but that's for another day.
the finished fountain with moss and distressing to add age
The pathway around and leading up to the fountain was made with cork tape cut into brick shapes and glued down ( excuse the toes 😬)

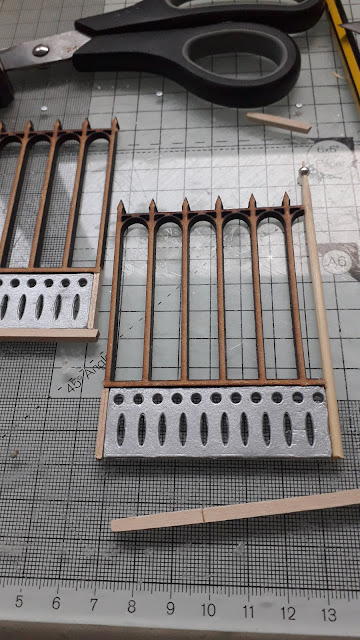
Next the gate and fence. These were made from the MDF railings that came with the house kit originally they were meant to be railings along the pavement. As I changed the front of the house from pavement to a garden I am just using them to make a fence and a gate instead. It took a bit of fiddling about adding the sides, top, and the bottom to make it fit, but I managed it in the end. I enjoy a challenge 😁
Not a very clear photo but I made the hinges on the gate and post from jewellery findings to enable the gate to open. I never give myself an easy time 😂
Now we come to the grass the trees and the flowers
The grass is a sheet of modelling landscape and some of the flowers were bought and some I made.
I will begin with the Clematis. To start I twisted lots of clear bag ties together an painted them green then I made the flowers and glued them on along with the leaves, these were made with punches that I previously used in my card making. You can see the Clematis on the left side garden wall.
Below the leaves have been coloured after punching out
a better photo of the Clematis
Most of the flowers were made with beads (from my jewellery making stash) and covered with a product called Flower Soft which comes in a range of lovely colours.
Covered in Blue Flower Soft they end up like Hydrangeas
You can see them in the right side garden against the wall I made some in white and peach too
A flower bed made with some of the flowers I bought and some landscaping material
The Trees....
This was a difficult one. I decided I wanted tall Cyprus looking pines and couldn't buy them anywhere in 1/12th scale so I had to make them.
I started off with BBQ skewers and taped 3 together for the trunk painted them and glued on loads of branches like the one below. They were painted and then coloured sawdust was glued on to beef them up a bit and painted again. The end result is not bad and they do look quite real in the garden,so I suppose it was a success in the end but it took ages to figure it out and to get the shape I needed.
Next, I need some Topiary.
Again very hard to buy the ones I want so I set about making them using my large black beads from my jewellery stash again, along with some skewers. Covered them in good old UHU glue and added some Flower Soft. They look really good and will be at the front door and maybe a few in the gardens too.
A bit messy but that's half the fun.
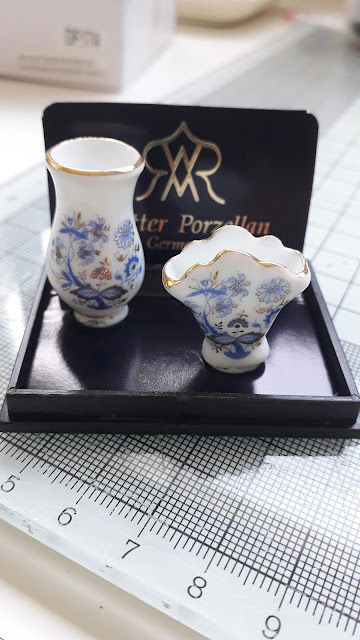
As I was writing this post my little Urns have arrived, so next time I will have them all planted up with my Topiary to show you and hopefully, they will be in situ at the front door.
Thanks for your visit today I hope it wasn't too long a read and that you enjoyed the update to the house.
Till next time, keep safe xx


