Friday 26 April 2019

Ceiling panels and mouldings, chimney breasts


 A further update on the ceiling panels that I have been working on. Above is the first floor stair landing with the panel and ceiling mouldings in place. This is the ceiling where the crystal chandelier will hang. No skirting boards fitted yet as I have to be able to get under the floor covering to install the wires for the lighting so the skirting boards will be one of the last things to be fitted in the house.


This is the ground floor entrance way ceiling panel and the mouldings fitted here too.  There is only half a ceiling here as the staircase is open to the first floor. It's quite difficult to get photos of these areas. as the house is still upside down at the moment, so all the photos have been rotated to view them as if the house was right side up, or I could just have stood on my head lol.


Above is the morning room ceiling panel and chimney breast, mouldings will be a little tricky in the rooms with a chimney breast as I have to mitre the corners around them so they will take a bit more time more updates on that next time.


Above is the Dining room ceiling panel and chimney breast, same applies here these two rooms will be done at the same time.


Below photos showing how the chimney breasts were made.


That's it for today,  hopefully I'll get some time to work on it this week. I still haven't made up the basement yet and won't have time now 'till after our holiday and as usual I will post pics when I do it.  Bye for now.


Thursday 28 March 2019

Drawing room floor completed....

Finally managed to get the Drawing room floor looking the way I want. After trying out about six stains I am now happy with the colour and the finish. Don't think I'll be able to duplicate it though for the other rooms as it has so many colours on it and I decided to wax it with oak furniture wax and it came up brilliant. Really pleased .


Now on to the Dining room ....got it started today so should be done by next week


I had a dummy fix of the chandelier just to see how far down it hangs looks amazing.


Next week I will be building the basement, I need to see the whole house together before I go forward with the lighting of the rooms. That's a big job and really expensive too so won't happen for a few weeks yet but I can go ahead with the build anyway.


The basement will be changed from the original design as it is meant for a town house and doesn't suit a country house, a few changes to the front to make a garden instead of a pavement but that's further down the line. So many ideas running through my brain. I'll update again when I have the basement built and the dining room floor completed.


Sunday 17 March 2019

The crystal chandelier and more entrance hall work


I was determined to have a feature chandelier in the house but when I saw how expensive they are I decided to buy a plain 6 arm one and add the crystals myself using my jewellery stash. I recon I saved myself around £90 pounds, .......yes I'm not joking ........the cost of a miniature one is as expensive as a full size one. Here is how I made it below

the plain 6 arm brass candle chandelier 

I hung the light on a jewellery stand while I was adding the crystals. I used fine gauge jewellery wire and gold coloured jewellery findings

 a selection of various size crystals


 The finished chandelier I love it so much and can't wait to hang it in the gallery area of the stairwell

Before I can put the light in the stairwell I have to finish the upstairs railings and also need a window on the back wall. I.ll update you on that part next week.

I have inserted a wall in the entrance hall and added a door to give the illusion of a staircase down to the kitchen in the basement.  The wall and door have still to be painted and then I can add the cornice and skirting and any other trims.


The wall was cut from 5ml foam core board

the space before

and after

How it looks now with the door in place, still to be painted and trims added


A bit wobbly looking on the right side but its only just placed at the moment so not permanent yet it will be removed again for decoration and then set in place properly.

I will update again next week with the railings in place and hopefully have the wood floor stained and finished in the morning/drawing room, busy week ahead.


Wednesday 13 February 2019

Entrance hall, floor and stairs....

Hello again a bit more progress this week in Dalton Manor, painting the balusters and newel post and developing the staircase. The entrance hall has a lot of work needed to get it looking authentic Georgian and this week I have been researching Georgian interiors and have come up with an idea for the floor in the entrance hall.
In grand houses they were normally floored with marble tiles and although you can buy the dolls house equivalent in specialist shops it can be quite an expense. You can of course also buy the floor paper sold in dolls house shops but I wanted to make my own floor.

Here is how I made my tiled floor.


First of all I made a template of the floor so that I had an exact measurement to work with. Next I decided that 1 inch squares for the tiles was the size I needed, 1/12 scale to a real sized tile.
 I used a craft punch to make the tiles from pearl card stock and silver marbled heavy duty wallpaper   ( a freebie sample from the DIY store ) next I marked the centre of the floor and laid the tiles diagonally from that point. I used UHU glue which is the glue I always use for most of my craft work it will stick almost any material and gives you time for any adjustments that you need to make.


the craft punch 1 inch square

the finished floor you can see the silver sheen

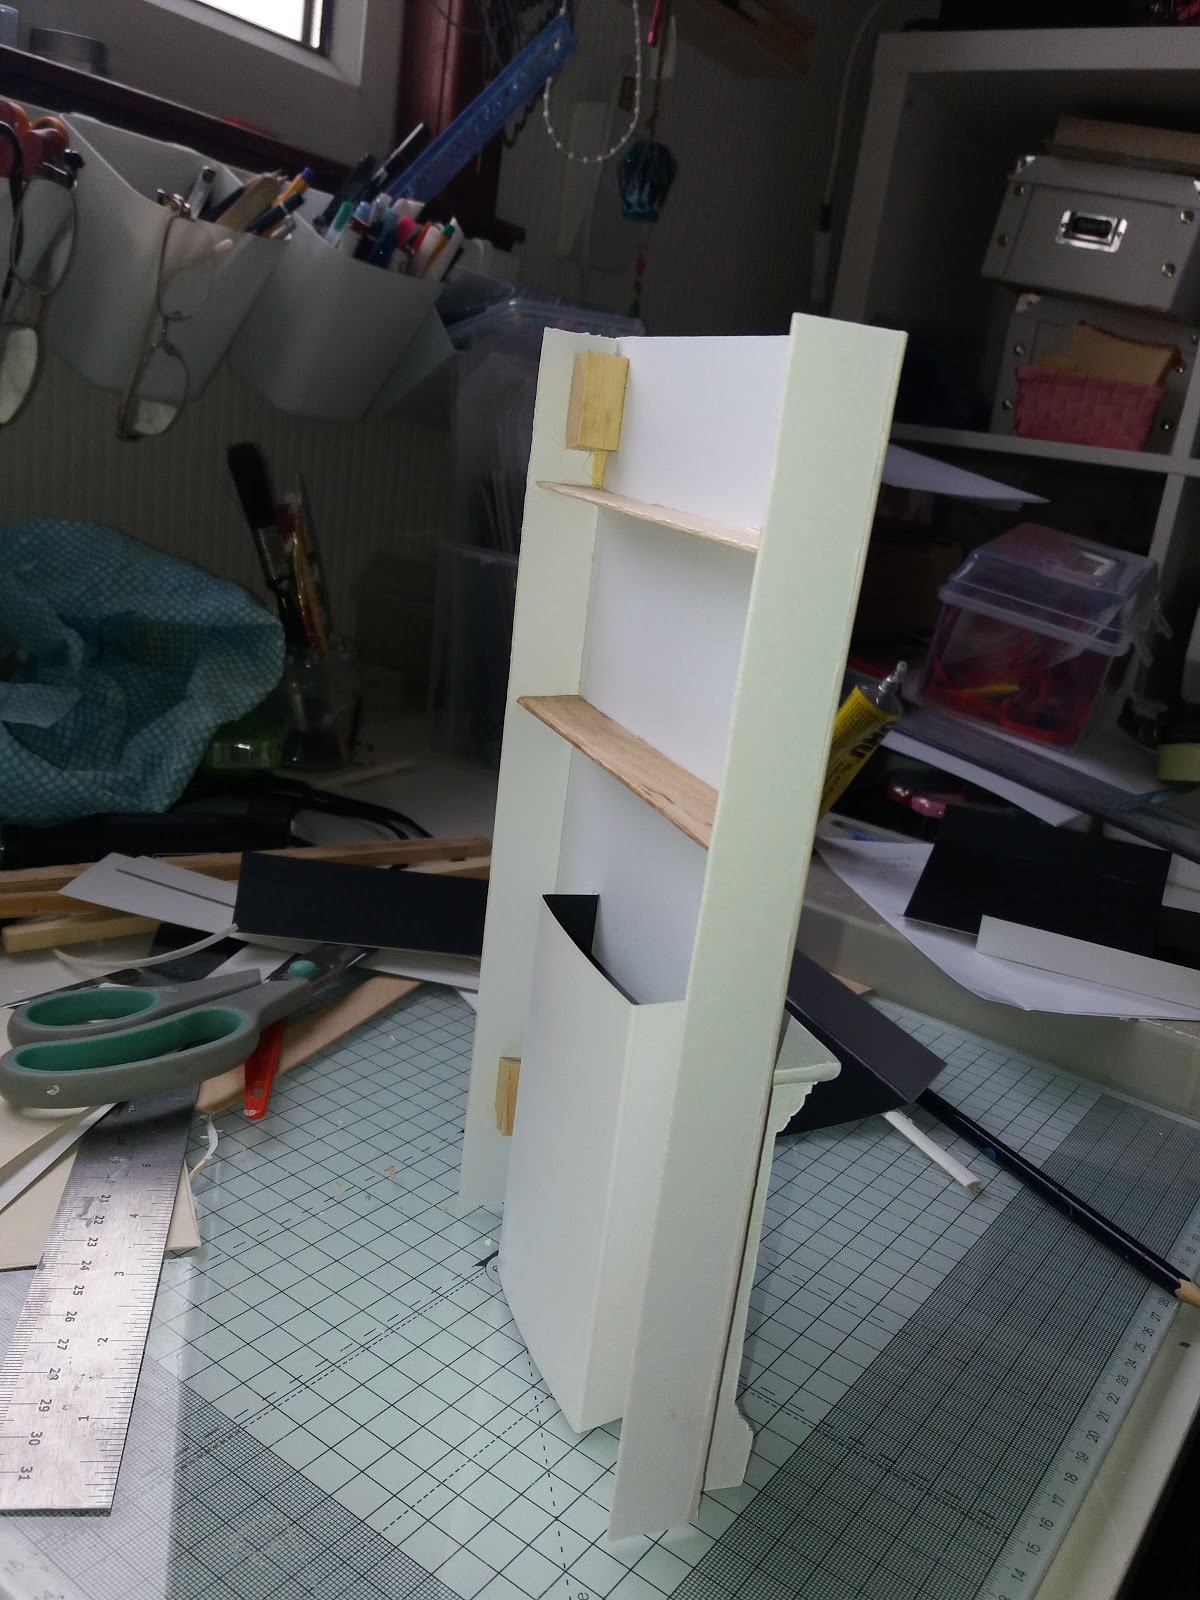
staircase in situ not finished yet 

the free wallpaper sample


Also today I painted the balusters with another coat of white acrylic, the nails in the bottom are just to enable me to handle them and stand them in polystyrene while they are drying


the handrails were also painted mahogany

I cut up some metal filigree corners to make some faux plaster work for the side of the staircase as you will see in later photos they were primed first and painted white to resemble a plaster finish


side of staircase showing the faux plaster and the marble column under the stairs

balusters painted with white acrylic

A busy day for me today so much so that I forgot to have lunch........I get so engrossed in what I'm doing and I really wanted to get that floor done today. Tomorrow I may install the balusters and handrails or depending if the postman brings my parcel, I might lay the hardwood floor in the drawing room. Till next time


Veronica


Tuesday 29 January 2019

The Dalton house

More progress made this week and a lot of painting. Another coat on the windows as I wasn't happy with finish and I still might put on a coat of eggshell mainly because the emulsion is soaking into the MDF and is not as white as I would like.

I decided to make the Morning room/ Drawing room Wedgwood blue, I have seen a room like this with the white panelling and it looked lovely. At last some paint on the walls but still a long way to go.

 Next the ceilings were given 2 coats of white emulsion and so far they look fine, which led me on to ceiling roses.  I can buy these online and I have looked at them but decided to have a go at making some.


 At the moment I need 10 so I started looking for supplies in my craft room.  Firstly I found some air drying clay and using a fondant rolling pin I rolled out enough to make 3 to start with.  I used a rubber stamp, a cutting die and various little tools in my Dremel tool box. I made two different sizes as the attic rooms are a bit smaller the large ones would have looked out of place.  They look okay so far so we'll see how the are when dry. These will be painted white.

The Stairs
I wanted a longer bottom stair so I added a small piece of MDF and shaped it with the Dremel once it's painted you wont even notice it was added, and I decided to turn the stairs, this enables me to fit a door underneath on the right which will be the door leading to the stairs to the kitchen in the basement....which is not there yet but it's in the plan......


Before

 After


 A few coats of paint later.  The idea is to have a white marble staircase.....that's if it works out.  I have always loved these stairs in Georgian houses so my house just has to have them. Another coat of white and then I will try the marbling effect, fingers crossed it works out.  Now I have to get Newel posts and banisters.
 

A busy few days and I can definitely see some progress now but as I said there's still a long way to go and my head is buzzing with ideas.  Stop by soon for more updates on the Dalton House.

Veronica


Tuesday 22 January 2019

The Dalton House progress


Moving on with the build this week I have inserted the room dividers and made the grooves along the floors for the lighting wires.  Using a Stanley knife I cut a line to the centre back wall of the house as this is where I intend putting the control switch and cut out a channel deep enough for the wires to be below the level of the floor, these will be covered with tape and whatever flooring I choose for each room.... now I can continue with the internal painting.
 Firstly I painted the walls and ceilings with a watered down white emulsion to seal the MDF this dries in about an hour if you are in a hurry to paint on further, but I left it overnight while I decided what to paint next.


Channels for the wires leading from the drilled holes to the centre back wall


Next I decided to make a start on painting the 15 windows (insides) that came with the kit this is quite a lengthy process  as they need painting on the insides round the panes and on both inside and outsides , I used vinyl silk emulsion for this meantime but I may use eggshell as a final coat it depends how they look when dry.


That's it for today I'm off to paint more windows.